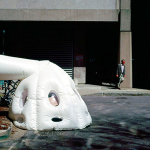
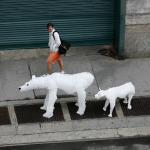
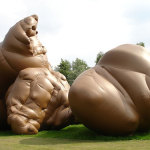
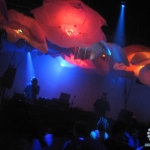
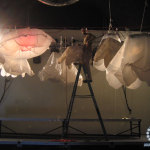
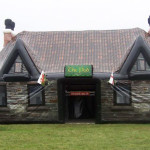
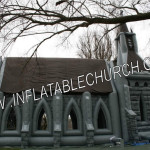
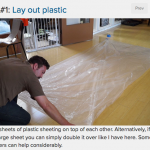
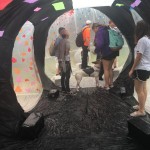
This challenge is to create a three-dimensional, large scale (at least 6′ in one direction), inflatable sculpture using plastic sheeting (recommended 3, 4 or 6 mil. plastic sheeting available at Lowes or Walmart painting departments), an iron/packing tape and a box fan / small shop vac (blowing instead of vacuuming) / an outdoor vent (see Michael Rakowitz’s work above). You will explore expressive uses of Space/Form/Light/Air and Presence/Absence. The work may be representational (attempting to depict a person/place/thing) or non-representational (abstract). Keep in mind the sort of form that an inflatable lends itself to: things like internal organs, soft abstracted architectural forms, and organic forms.
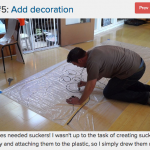
You can draw on or color your plastic, add in colored plastic (shower curtains or plastic table cloths), or you can project on it. You might have people go inside your inflatable, or add sound to the installation. Keep in mind that craft and functionality are elements of grading this project – practice your approach before applying it to the finished piece.


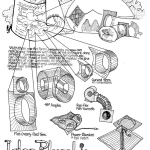
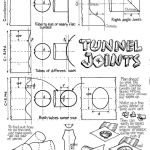
Sealing/Connecting:
You have two options for creating the seams/joints in your inflatable: packing tape and melting with an iron.
IRON/HAIR STRAIGHTENER:
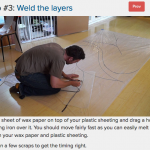
Turn the iron on, high setting. Starting at a corner, lay out a length of wax paper on top of the intended seam (to keep the iron from sticking to the plastic), and start sealing it together, with cardboard underneath to keep from overheating the floor if necessary. It’s easy to figure out how much heat/pressure to give it: if it’s too much, you’ll have a mess, and if it’s not enough, then you’ll see weak spots pretty easy. You can always go back. And if you really make a mess of it, just trim it off and go again, no big deal. When you finish a section, peel up the wax paper and move to the next; you can re-use it a few times. Also, some might like to use a sewing machine to sew, then fuse, the plastic pattern together.
PACKING TAPE:
Use packing tape to seal the seams – make sure to fully press the packing tape on either side of the seam to ensure a good connection. You may have to add more packing tape on either side of the seam/joint to ensure a good connection.
The FAN:
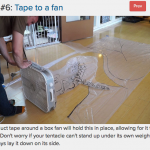
Make a tube sized to fit your fan; 6-10 feet long should be fine (the inflatable will be jostling and you don’t want the fan to keep getting knocked over). Cheap box fans, like 2’ wide, work fine; they’re usually powerful anough, and are easy to stick tape to. Near a corner, make a slice in the main plastic, and tape the tube lightly in place, then work out how to seal them together with either packing tape or an iron (cutting the end of the tube into a few tabs helps). If you use an iron, you might need some thick cardboard to put between the top and bottom parts so you can seal them separately; again, with experience, it gets much easier. Go slow, use your head. Once it’s up, somebody on one side can hold a backing board (don’t burn their fingers) against the plastic while the ironer works from the other side.


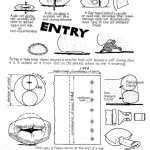
DOORS (if people will go inside):
The easiest door is simply a slit in a side that’ll be against a wall; that way air pressure automatically keeps it closed (you have to squeeze along the wall to get in). Note that a simple slit will invariably spread at the ends from tension on the plastic; a simple solution is to cut out a 6-inch circle from each end of the slit, works like a charm. Door solutions could also include the installation of a zipper or velcro. Another nice door is if you have a post or vertical stationary object, cut a slit next to it, then tape one side to the post, then attach the ends of a stretched bungee cord to the post, and tape the other side of the opening to this cord: when you release the door, the cord snaps it shut. A little air leakeage isn’t usually any problem.


STEP 1: Brainstorming/Research
Brainstorm at least 10 sketches of possible solutions for your inflatable. If you look for useful images online, print them out and put them in your sketchbook. You will select your 3 favorite ideas and make a paper model for each one. The models will communicate how your designs will take up space. Color may be used if needed to communicate your idea. Make sure to address all design requirements above. The size of these models should be at least 11″ on their longest dimension, but may be larger.
This SketchUp extension might help you create patterns for your models and finished project:
STEP 2: Peer Critique
Everyone presents their 3 paper models for feedback. Sketchbook work will also be graded at this time.
STEP 3: Planning your inflatable
Select the paper model you are going to execute. Make any improvements suggested by the class. Then, cut it apart and measure it. Make a plan for cutting and sealing your inflatable. Keep in mind everything mentioned above (sealing/joints, the fan, doors). Think about WHERE you will create it (does the site have power, is it indoors or outdoors?, etc).
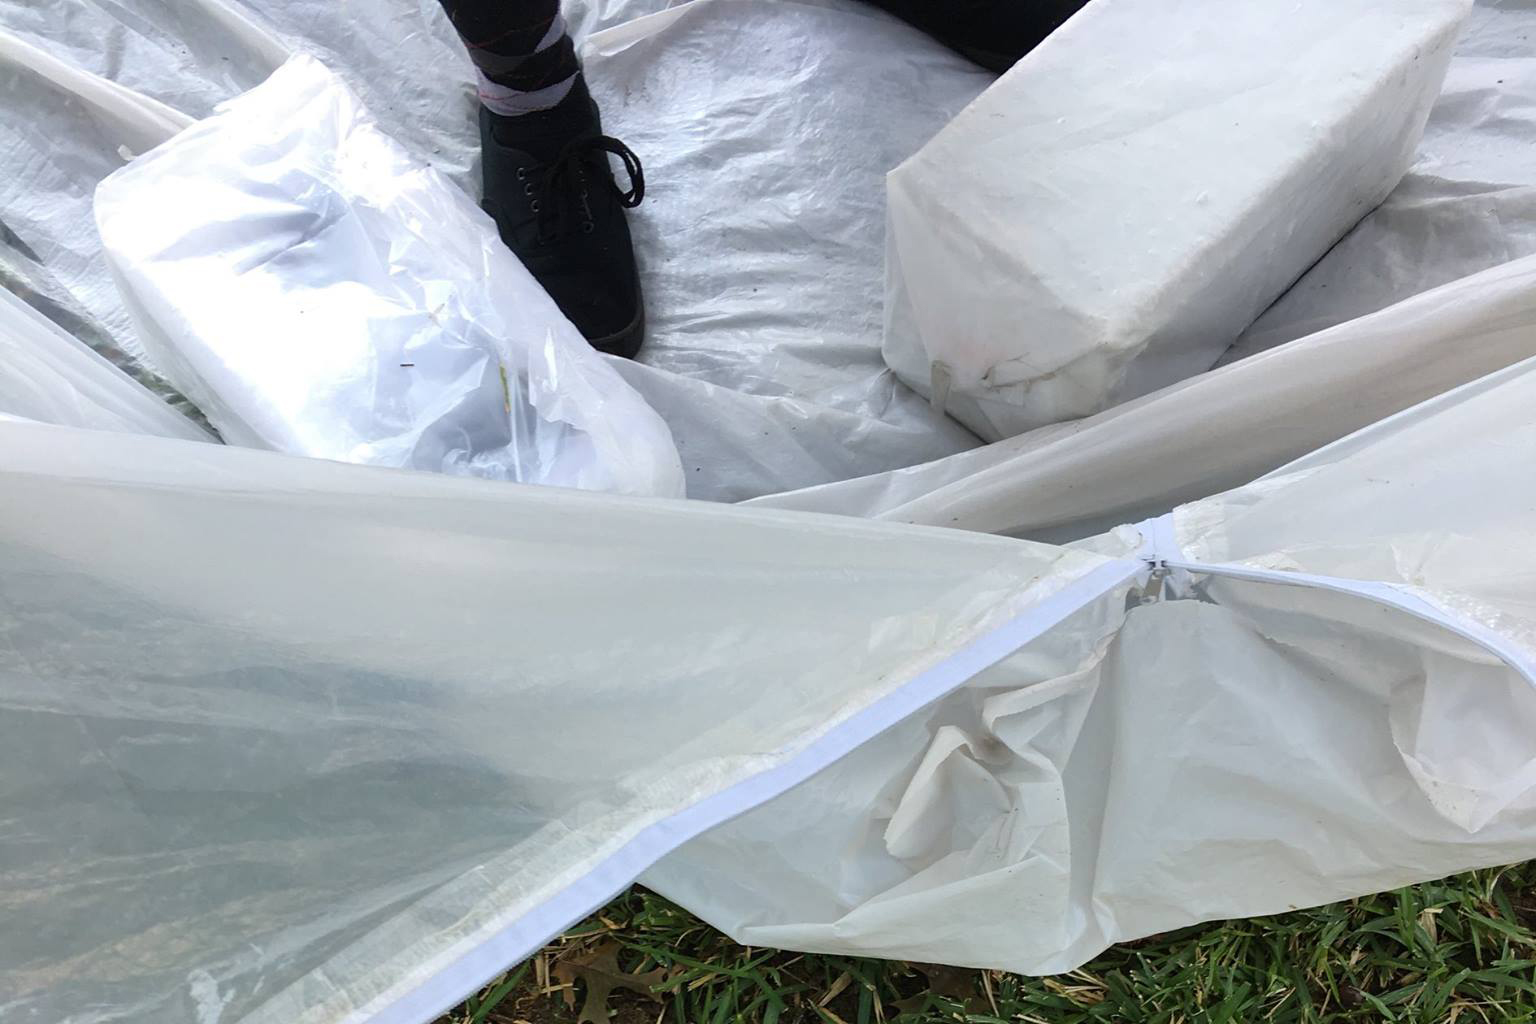
Bricks wrapped in plastic make excellent weights to prevent your sculpture from blowing away. Credit: https://www.facebook.com/shsuWASH/
Purchase any colored plastics you may need. Everyone will be provided with an equal length of translucent plastic – you will be responsible for purchasing extra if your sculpture needs more.


CREDIT https://www.facebook.com/shsuWASH/
As always, safety is the first consideration, but seeing as it’s fairly easy to simply rip your way out, it shouldn’t be much of a problem; but still use your brain, especially to minimize the danger of fire/smoke, or mixing fluids and voltage (hint: keep powerstrips away from the lowest areas, for starters). If it starts to deflate (too much in/out or a blocked fan), do NOT panic, just get everybody to lift it up until it comes back up. If you do it on a rooftop, prevent people from sitting along or even near the edges, and be sure to tie it down very well, to things that won’t snap off (like not cast iron pipes: please); sudden winds can be surprisingly strong and can really create havoc. The most annoying injuries are those a little forethought could have prevented.


[view the entire Ant Farm Inflatables Booklet]
STEP 4: Make the inflatable
Don’t forget simple things, such as confirming all electrical outlets at your site work at time of site selection and again about a week before critique. It usually helps to build up any odd joins and angles with additional gussets, spread the load out.
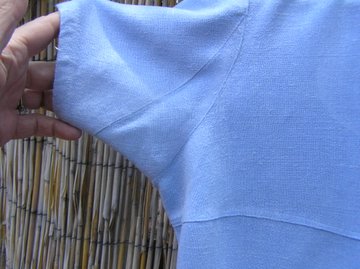
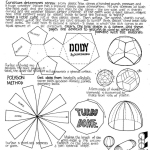
gusset
Step 5: Critique
Keep tape on hand for the inevitable repairs and adjustments.
GRADING:
5 points – Brainstorming/Research (notes, collected images, sketching/mock-ups, be self directed in research, experimentation and problem solving)
5 points – Visually appealing (the inflatable is ambitious and interesting to see/experience)
5 points – Functional (it successfully inflates and stays inflated; Is the placement of the fan good?)
5 points – Craft (joints are cleanly executed, if there are any surface treatements [drawing, coloring, or projections], they look good; overall thoughtfully made)
8 points – Self-Reflection via online quiz