MATERIALS/TOOLS:
Cardboard, utility/xacto knife, hot glue gun, paper tape, ruler, and scissors (maybe sewing supplies or riveting supplies). Whatever you use to assemble the work, make sure that you don’t use it for decoration. The cardboard cannot be painted or colored by you in any way.
OBJECTIVE:
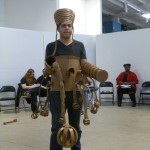
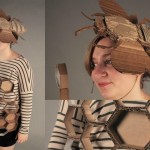
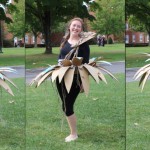
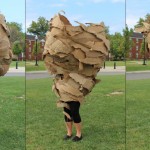
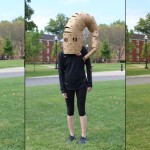
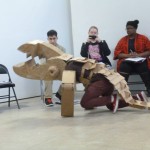
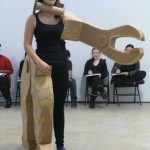
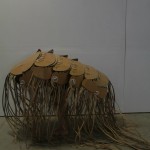
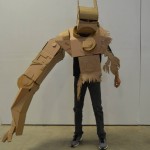
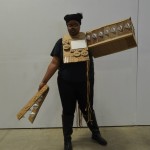
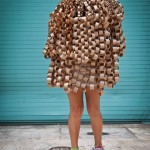
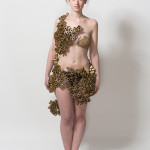
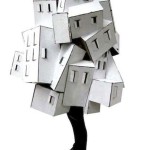
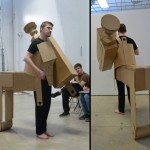
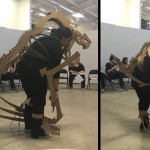
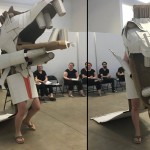
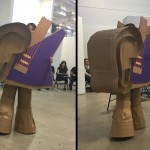
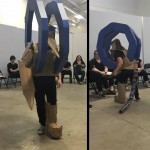
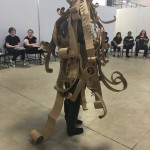
Create a cardboard sculpture that is placed on your body. This is not a piece of clothing or jewelry, like a hat or glasses, but a sculpture that significantly alters/transforms your body. Clothing might inspire how the sculpture fits the body, but it should be distinctly 3-dimensional, rather than just 2-dimensional cardboard covering parts of the body.
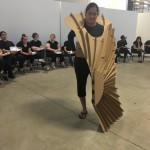
We will have a parade around campus/town with our wearable sculptures. Since your body is part of the sculpture, think about how your body should move while in this wearable art. it is important to take into consideration the way you move/speak from within it.
Things to consider:
- How does the body influence the form of the sculpture and vice-versa?
- How can movement, transformation ‘heighten’ the piece?
- How can you use scale to influence participants/viewers?
- What are the practical concerns/considerations when making a wearable sculpture?


STEPS:
- Research/Brainstorm: Find at least 5 artists working in cardboard and/or wearable art that intrigue you. Print off photos of their work in color and put them in your sketchbook. In your sketchbook, create at least 10 thumbnail sketches for 10 different cardboard wearable sculptures. We’ll share this research in class.
- Sketches/Narrowing Ideas: Having heard everyone else’s ideas and research, sketch out 3 ideas in greater detail (devote at least 1 whole sketchbook page to each of these ideas). You will make rough 3D mock-ups of each of these 3 ideas out of paper. We will share these refined ideas in class.
- Select idea and begin working: Once you select your idea, you will need to collect cardboard (see suggestions for collecting below). It may be useful to make another more refined mock-up out of paper to determine patterns for cutting your cardboard. We will have in-process critiques – see schedule for dates.
IMPORTANT: Students should try to work inside the 3D classroom if possible. If working in the hallway, pedestrian passage must be respected at all times. Cleanup and organization of tools and materials are critical since the hallway is a main thoroughfare in the Art Department. - Final Critique/Parade: We will hold a final critique and parade our sculptures around campus and around town. All projects must be dry and free of fumes.
- Document your work.
- Self-reflection: After the project is over, you will answer the following questions in an online quiz to revisit your project and review how you performed. [1.] Discuss your work in terms of the components of an artwork. (subject/form/content/context) [2.] How does the work engage with elements and principles of 3D design? Make sure to mention specific elements and specific principles. [3.] How was your project successful? [4.] How could your project be improved?
GRADING:
Research/Brainstorming – 5pts
3 Sketches/Mock-ups – 5pts
Craft of finished sculpture (cleanly cut and joined/glued, Seams are tight, no hot glue spider webs) – 5pts
Originality/Inventiveness of finished sculpture – 5pts
Did the finished sculpture work well with the body? – 5pts
Self-Reflection – 8pts