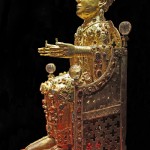
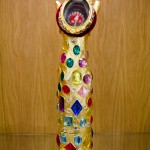
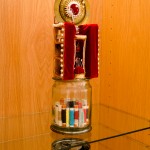
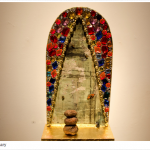
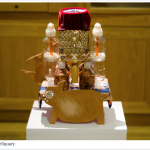
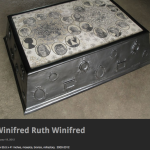
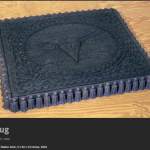
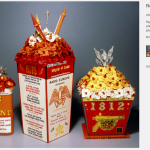
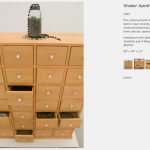
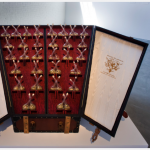
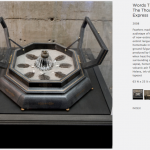
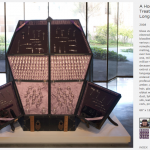
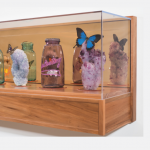
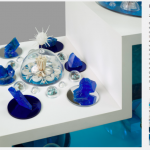
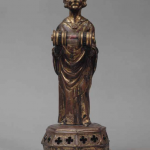
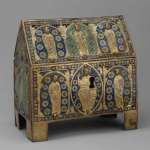
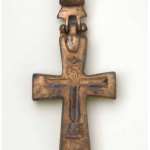
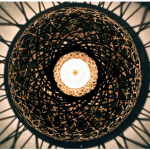
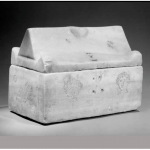
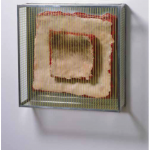
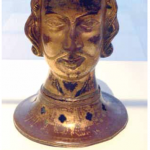
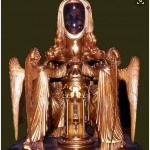
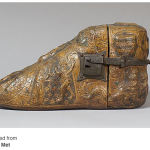
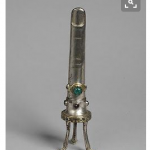
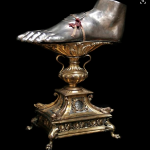
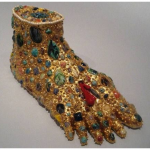
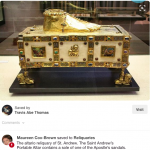
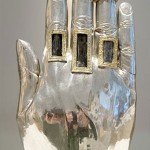
We will be using SketchUp to create 3D models and printing them via Shapeways. Students will 3D model/print a miniature reliquary, which is a container for relics. Relics are typically the purported or actual physical remains of saints, such as bones, pieces of clothing, etc. In our case, you’re going to think of an object from your life that deserves relic-status, and then you will model a miniature reliquary for that object, as well as a mini version of your object.
WHY ARE WE DOING THIS?
This project will force us to think about containers. What are the containers in our lives? Egg cartons, ring boxes, garbage cans, bath tubs, coffins, music boxes, etc. What is important enough to warrant a specially-crafted container? Also we will think about the materials and colors you will print both the relic and the reliquary in. Students will have to weigh options based on size/cost considerations. This project will help us to practice creating multiple iterations of a project until we find the ideal balance between concept/size/cost.


STEPS:
1. Brainstorming and sketching
You will sketch at least 10 possible ideas for your project. Remember, it doesn’t have to be a great sketch, but it has to communicate your idea to the class. Review the cliche checklist to help you avoid predictable ideas. Ask yourself the following as you brainstorm:
– What are the histories of your objects?
– What are the perceived values of your objects?
– How can you change the meaning of the object by the structure you create to enclose it?
– Can you create a narrative between two objects?
– How will context affect your proposed assemblage of objects? (place, culture, identity, etc)
– By combining two objects, how will you change of them?
– When you combine two objects, what is concealed and what is revealed?
2. Presentation of ideas for peer critique
You will present your 3 strongest ideas to the class for feedback. After hearing from your peers, you will select 1 idea to execute in SketchUp. Sketchbook work will also be graded at this time. Be sure to carefully consider the various material specifications for wall thickness, etc.
3. Execute idea in SketchUp
This is a good time to continuously upload versions of your relic/reliquary to Shapeways to examine the size/cost relationship. Shapeways preview tools are quite useful for this process.
4. Review of SketchUp files by peers to catch mistakes
Everyone will check everyone else’s files for errors.
5. Order objects via Shapeways
6. Final critique


GRADING:
5 points – Brainstorming/Research (notes, collected images, sketching/mock-ups)
5 points – Visually appealing/Inventiveness (does this grab your attention/interest, or is it rather cliche or predictable)
5 points – SketchUp Drawing (the drawing you create on your computer in SketchUp)
5 points – Physical Object (is it well crafted – did you remember to join edges and create faces as necessary? are there any errors in the finished piece compared with the SketchUp drawing)
8 points – Self-Reflection via online quiz. After the project is over, you will answer the following questions to revisit your project and review how you performed. [1.] Discuss your work in terms of the components of an artwork. (subject/form/content/context) [2.] How does the work engage with elements and principles of 3D design? Make sure to mention specific elements and specific principles. [3.] How was your project successful? [4.] How could your project be improved?