Associated links:
- Building a Rig
- Dolly1 (heavier duty – uses PVC pipe as tracks)
Dolly2 (use your car)
Dolly3 (use a rolling chair/wheel chair)
Dolly4 (smaller slider – fits on desktop)
Dolly5 (use your bike) - Shoulder Rig 1 (~ $20)
Shoulder Rig 3 (not counter-weighted, ~$20)
Shoulder Rig 4 (also doubles as a jib! ~$80) - Tripods (tricks for unintended uses)
Low Angles with Tripods
Monopod Tricks (includes string stabilizer trick) - Hand held rig (~$5 made of PVC and surrounds the camera)
DIY SteadyCam (~$15)
SteadyCam2 (using a tripod)
Fig Rig (like a steering wheel for your camera) - Jibs and Cranes, OliviaTech jib directions
Shoulder Rig 4 (also doubles as a jib! ~$80)
Why we’re doing this:
It is important to learn how to create effective high-quality documentation of our projects and DIY video rigs are an integral part of that process. We will develop our professional skills by building a DIY video rig, and then writing down how it was done (including illustrations). By not only building the rig, but also repeating the process by explaining the process to others, we will reiterate and solidify the knowledge in our brains.
What’s required:
- After having built the rig, students will create a Word Document that contains a comprehensive list of the tools and supplies they used to build the rig. The list must include the name of the item/tool, the cost, how many of the item/tool are needed,where they found it, and a clear photo of the item/tool. For example:
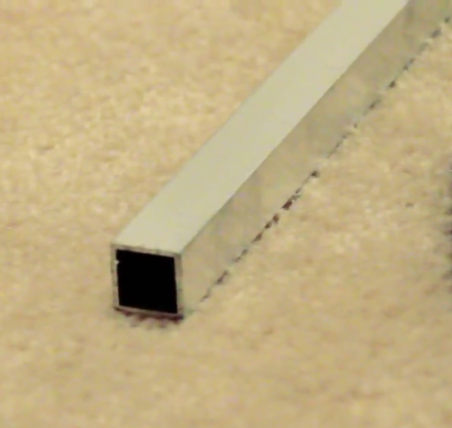
ONE – 1″x 96″ Aluminum Square Tube, $16.98, at Home Depot
ONE – Hacksaw, $5.47, Home Depot - Next, students will compose directions explaining how to assemble the rig. If the student used a link to a video, the Directions must start with the link to the video. Following the link, the student must type step-by-step directions explaining how they assembled the rig. The Directions must include a minimum of 5 photos that help illustrate and explain the steps. Think about the points in the process that you found most confusing, and make sure those steps are the most clearly illustrated and explained. Remember to write in complete sentences.
- At the end of the Directions, students must provide at least 5 photos of their completed rig from different angles to help illustrate what the finished rig should look like.
- Submit your completed document on Blackboard. See Course Schedule for exact time/date.
- Does the list of supplies/tools include the name of the item/tool, the cost, how many of the item/tool are needed, where they found it, and a clear photo of the item/tool (4 points)
- Are the directions clear and easily understood? (3 points)
- Are the directions illustrated with at least 5 photos that help illustrate and explain the steps? (3 points)
- Are there at least 5 photos of their completed rig from different angles to help illustrate what the finished rig should look like? (3 points)