The choices for this assignment are attached below. Please choose one and print it off in color as high of quality as possible. You will notice when you print the image off, that it will not look quite the same as the image on your computer screen. Feel free to bring in your laptop along with your printed image. Avoid photo paper, as we will be marking on the image.
We will be using a grid to transfer the image on paper to a contour line drawing on our canvas/board. It is an easy way to make sure the eyes, nose, mouth, etc. end up in the correct spot. I will demonstrate how to grid an image. We will use 1 inch squares for the printed image, and approx. 2.25 inch squares for our canvas/board. If you are familiar with using a grid, please feel free to grid your image and canvas off before class. Bring your 24 inch ruler to class. We might not have one, because sometimes it disappears.
This project is meant to prep you for painting your own self portrait. The aspects we are focusing on are the same – correct lighting, catching a likeness, and other elements as listed below.
Draw 1″ squares on the print out, then draw 2″ squares on your painting surface. (make sure to start making the squares in the upper left of both the print out and the painting surface)
Keep an eye out for light on the forehead, eye lid, lower lid and cheek.
Keep it loose enough to create excitement.
— Shadows: brown and a little crimson, then add some blue to neutralize the pinky colors
— Highlights: white gets dropped into the the base skin color and then blended2) To get a pale skin color with a peach shade, mix together about 1 tablespoon of raw sienna with 1/2 teaspoon of burnt umber. Add an 1/8 tablespoon of yellow and just a tiny touch of your brush’s worth of red. Add white until the shade is your preferred shade of pale skin tone. For a blue undertone, use a cool (blue) yellow and the lighter shade of purple in place of the red.
GLAZING:
What is a glaze?
A glaze refers to a layer of transparent or translucent paint over a layer of opaque paint that has dried to the touch. The glaze is an extremely thin, oily, transparent layer of paint. You thin the paint out using a mixture of oil and mineral spirits/ turpenoid until it becomes transparent. You spread this layer of transparent paint on top of a dried surface of a painting to change the hue and value of its original surface.
The light passes through the transparent layer to the opaque layer giving it the appearance of the two separate colors being mixed or combined. The pigments are optically mixed as opposed to physically mixed. The red stays red and the green stays green. Because one layer is transparent it produces a unique affect we call glazing.
When to use a glaze?
A glaze can be used at any time as long as the original layer has dried. You can glaze an entire painting using a rag in a matter of seconds, or you can glaze a small section using a brush, usually the latter.
Glazes are perfect for painting the complexities of skin tones. How do you paint cool (blue) light on a warm (yellow/ red) face. How do you paint a 5 o’clock shadow or the beginning of a beard which usually has a cool tint on a warm face? By painting the warm colors first, letting them dry and then glazing in the cool colors you accomplish this unique color situation without your painting becoming muddy.
You can use any color to glaze with. It works best when you glaze a darker color on top of a lighter color. You can add as many layers of glazing as you want. Some artists will stack over a dozen layers of glazing on top of each other, letting each layer dry in between, to give the painting a more luminous glow that cannot be achieved otherwise.
Example (sort of)
GRADING:
View Grade Sheet HERE
FILES TO COPY FROM
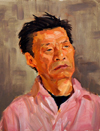
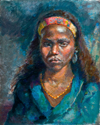 Ellen Dreibelbis, “Head of a Woman”
 Lucian Freud, “The Painter’s Mother”
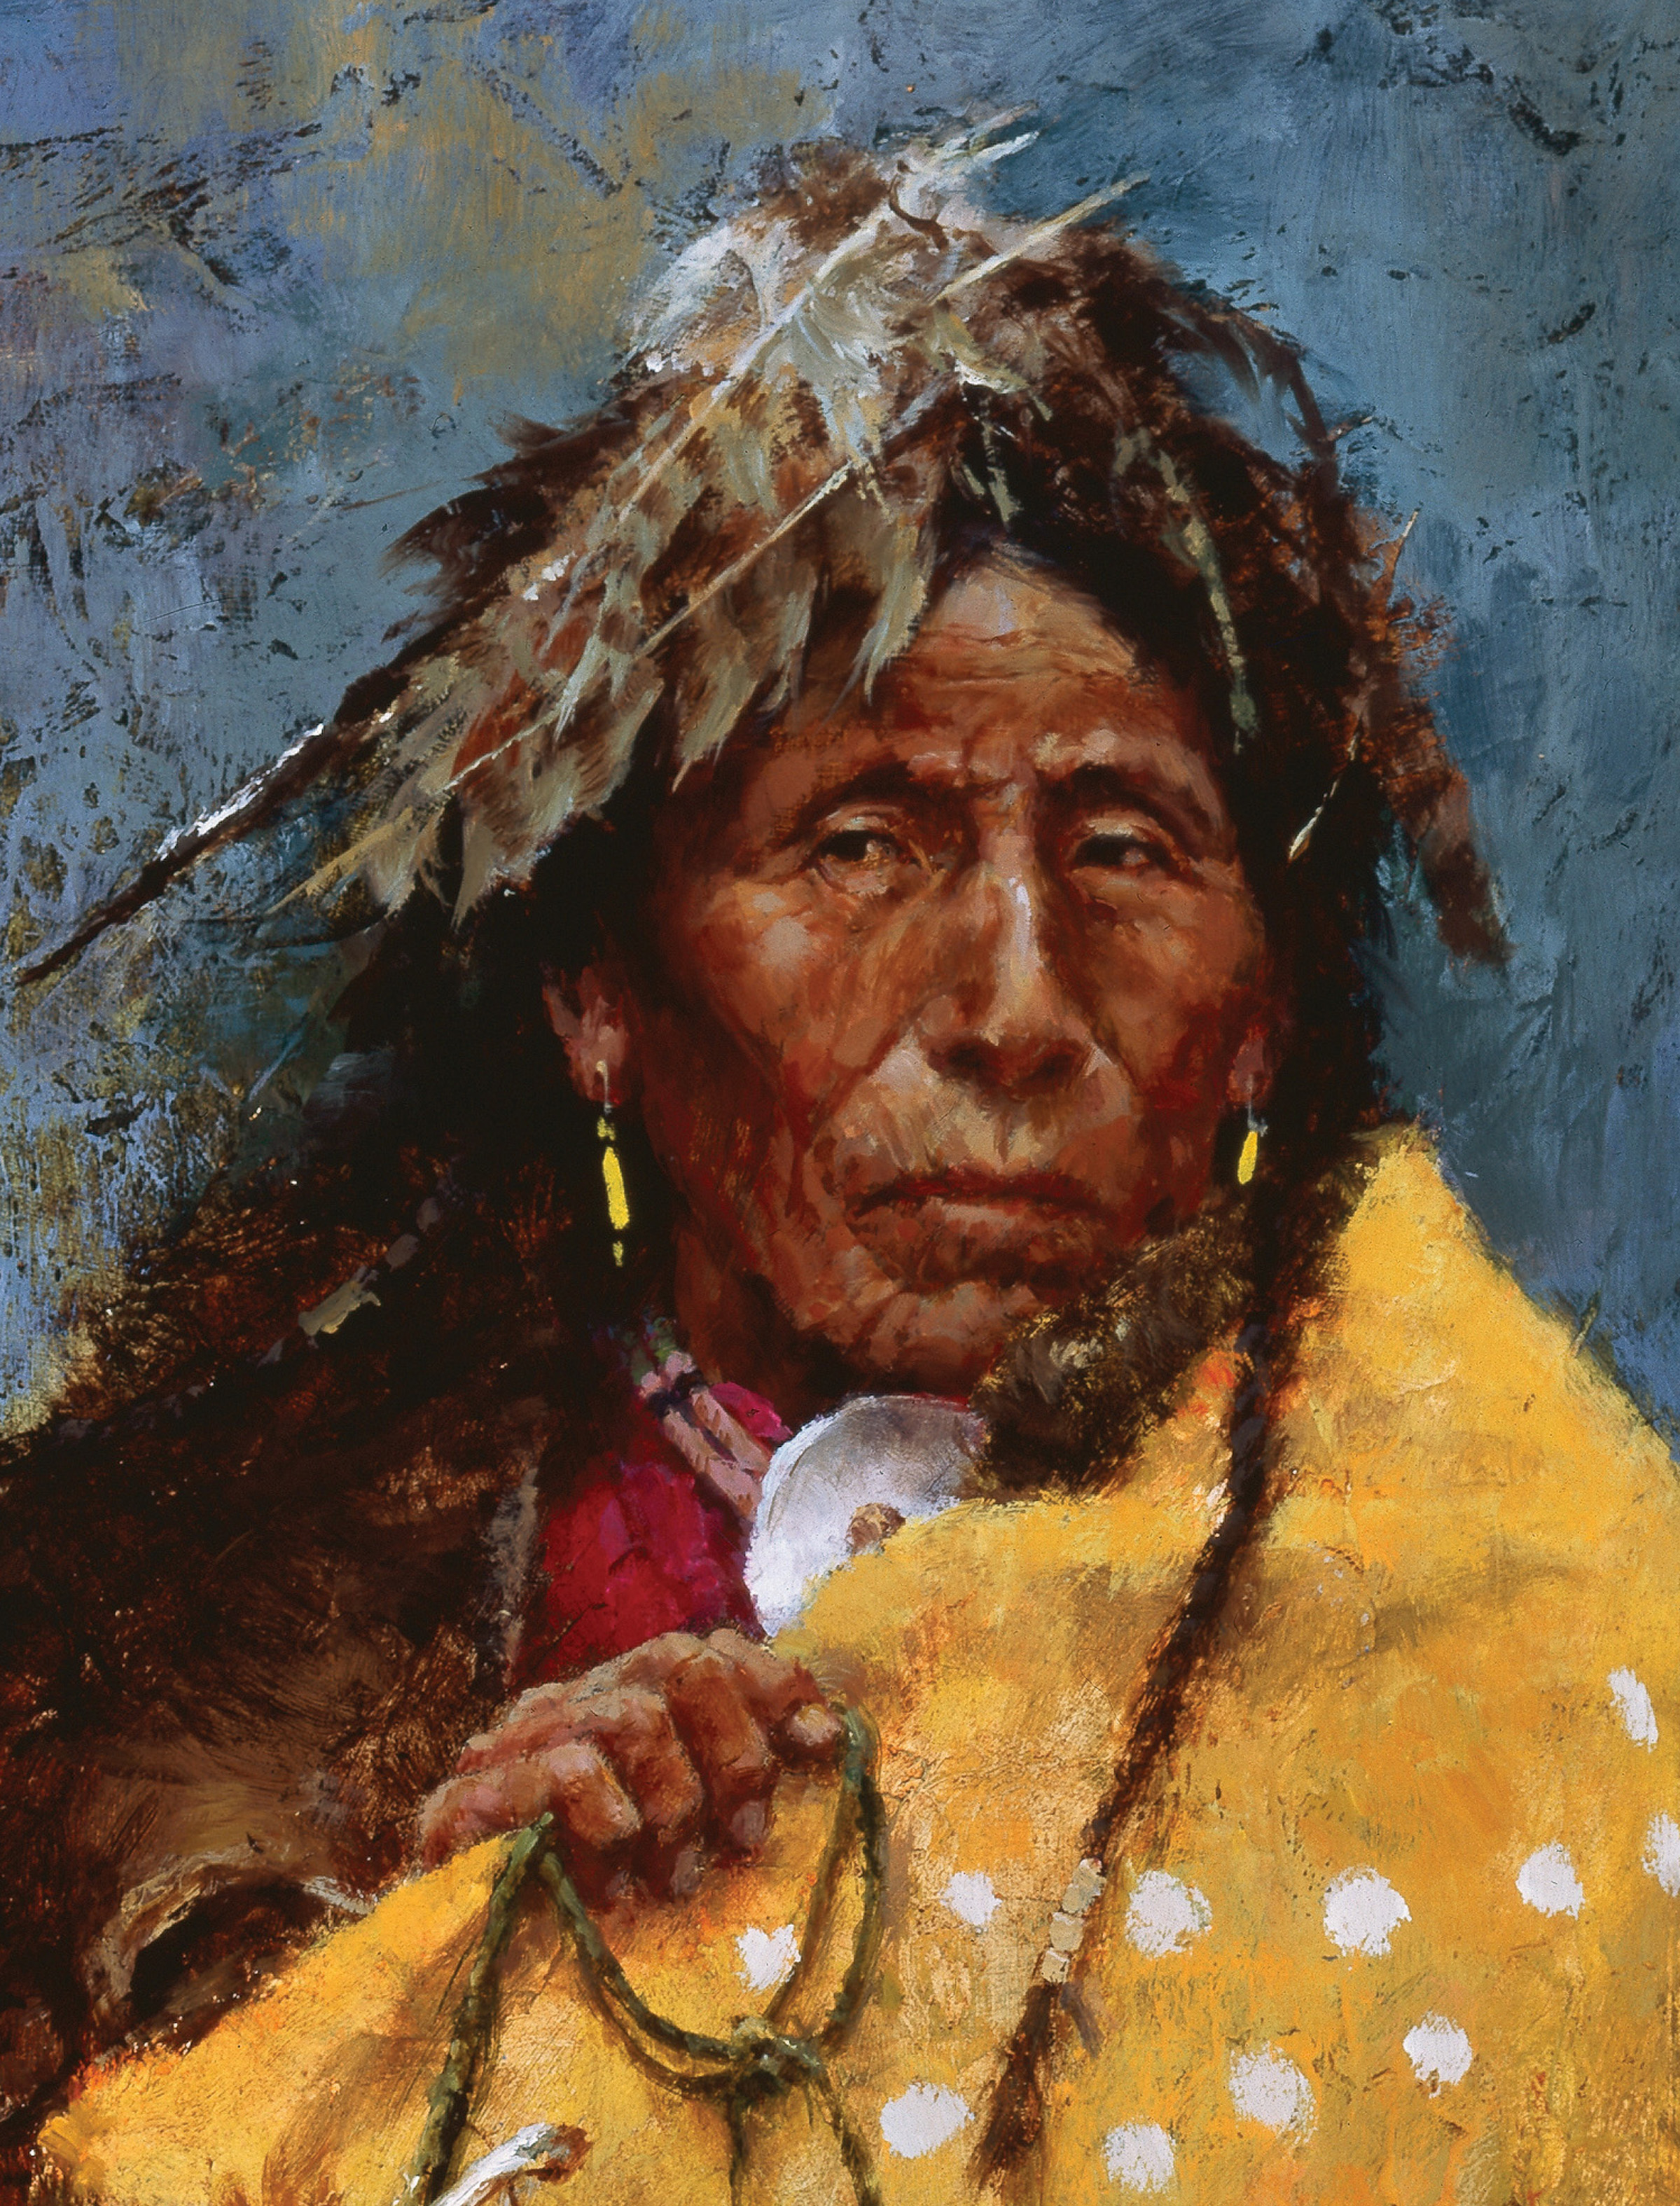
Howard Terpning (Click the image to access full size)
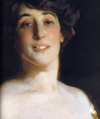
 John Singer Sargent “Emily Sargent” (1877) oil on canvas
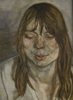 Lucien Freud, “Woman Smiling” (1958)
 Diego Velazquez, “Juan de Pareja”
 John Singer Sargent, “Ena and Betty, Daughters of Asher and Mrs. Wertheimer” (detail)
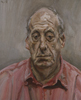 Lucian Freud, “Fancis Wyndham” (1993)
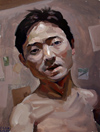
 Marci Oleskiewicz, Title Unknown
 John Singer Sargent, “Self Portrait” (click image to access large file)
 Rembrandt, “Self Portrait” (click image to access large file)
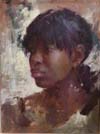
 David Leffel, “Jeffree” (click image to access full size)
 William Kalwick, Title Unknown (click image to access full size)
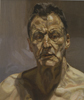 Lucian Freud, “Reflection (self-portrait)” (1985)
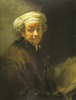 Rembrandt, “Self-Portrait As the Apostle Paul” (1661) oil on canvas
 John Singer Sargent “Mary Turner Austin” (1878) oil on canvas