Demos for this project:
- Intro to Macs presentation
- How to use the scanner – available at CVPA VML, Star Store labs, or the library
- Shooting photos with your phone presentation
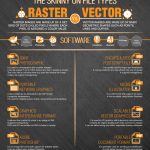
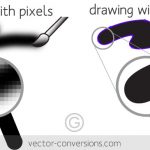
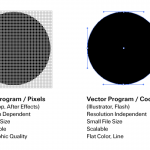
- Intro to Raster vs Vector presentation
- Intro to File Types presentation
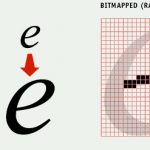
- Intro to Resolution presentation (See also, this Resolution PDF)
- How Does a Computer Make Color? [PDF]
[click thumbnails to enlarge]
PROJECT GOALS
- Understand the capabilities of digital photography and flatbed scanners as valuable sources for original images and ideas
- Understanding concept of sampling, and its relationship to resolution and scale.
- Comprehension of color in the digital space, creating, selecting and palette building.
PROJECT PRINCIPLES/CONCEPTS
- Sampling and Collecting
- Information Gathering
- Composition
- Perspective
- Context
- Color (Subjective and Objective)
- Non-Destructive editing
- Image Manipulation
- Memory and Time
Project 1 // Part 1
STEPS
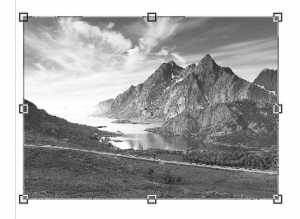
- Shoot: Using a digital camera or your phone, take a journey of any length to an interesting location, and photograph no less than three images of landscapes. Shoot at the highest quality your camera allows. If possible, take two or more exposures of each landscape, and with each, make an attempt to improve the composition, or alter the perspective as you take each new shot.
- Collect: At each location, collect at least three ‘samples’; perhaps a small found object, detritus or a ‘part’ of the location you are observing. (example: a shell from a beach, or a leaf from a tree). It will be wise to keep each sample somewhat small, perhaps no bigger than your hand. Choose each sample with care: consider if, or how it represents the scene, or stimulates a memory. Perhaps the object is out of place: it could be considered garbage and seems to have no connection to its location – but if it is still a curiosity, or has an interesting set of colors or textures, that’s OK! You may physically collect the thing, bringing it home with you to be scanned or photographed, or you may also use your camera to collect your sample, by photographing it on site. It will help to bring some black and/or white cloth or paper along to help with the process. Use the tips from class, whether you are inside or out. You may also ‘collect’ some textures or other items of interest that are not removable by photographing them at the time you are there. Scanners are available in the computer labs when there is no class present, the VML at the CVPA building, and in almost every computer lab in the Star Store. If you bring an object back to be sampled, determine if you’d be better off scanning or photographing it. If the object is bulky, dirty or abrasive, you may NOT want to use a flat-bed scanner. However some objects, flat or not, will scan beautifully. Be sure to use a solid black or white backing when you scan, choose the background that will provide the most contrast.
- Save all your files (photos and scans) and submit on Canvas. Also bring your files and collected objects to class for critique.
Project 1 // Part 2
This project asks you to recall color in a different way. Essentially, you will use your sample objects to provide the color for the landscape photograph. The colors you select to re-color your photographs might reflect your memory or impression of the location or perhaps a mood or emotion that you felt on scene or after you left the location.
Be sure to SAVE as you go. Always include your LAST NAME in any files that will be turned in. Create at least 2 re-colored landscape documents for this assignment.
STEPS:
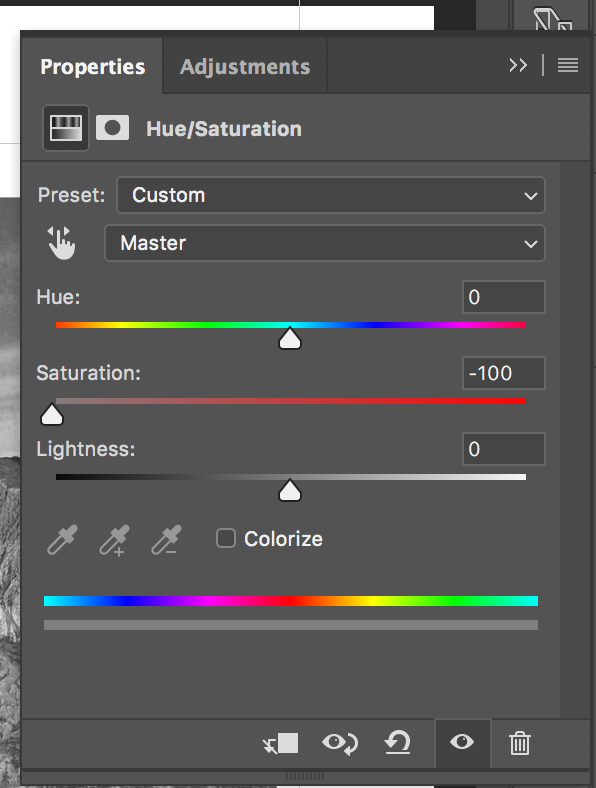
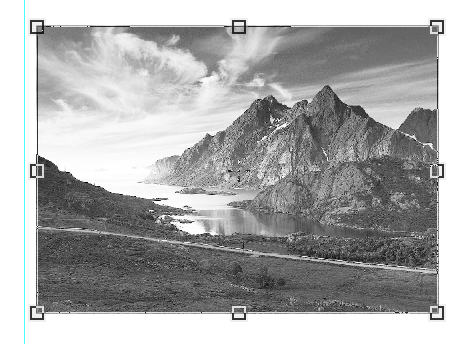
- To start, first open and desaturate one of your chosen landscape photos. To desaturate the landscape image so it is grayscale only, add an adjustment layer > Hue/Saturation, then pull the saturation handle all the way to the left.


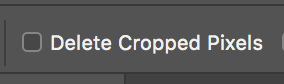
- Crop the image to improve or tighten the composition. (Press C on the keyboard for the Crop tool). Make sure “Delete Cropped Pixels” (located at the top of the screen) is UNchecked.

- Next, open all the objects scans/photograph files for the chosen landscape. (File > Open)
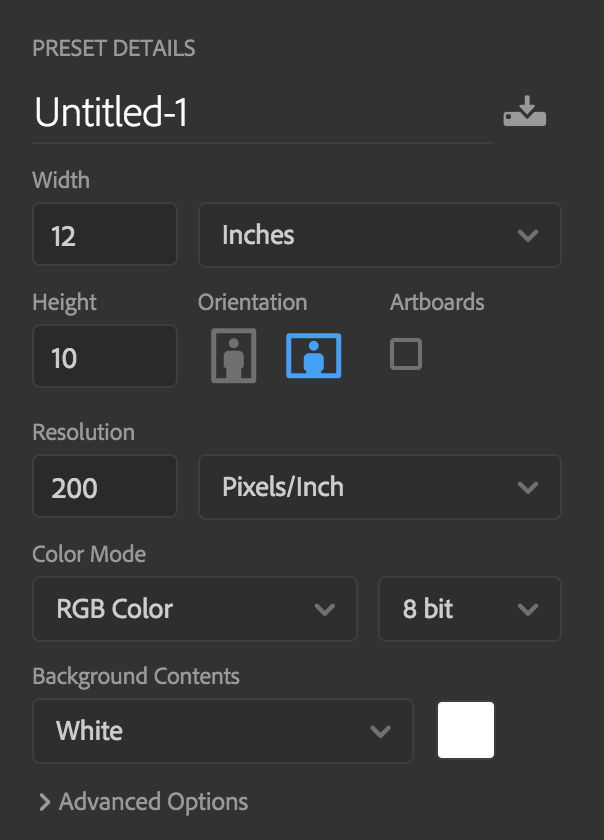
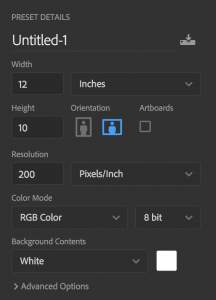
- Then, you’ll create a new, blank workspace, 10 inches by 12 inches at 200 dpi, with a white or black background in RGB color Mode. You may work horizontally or vertically.
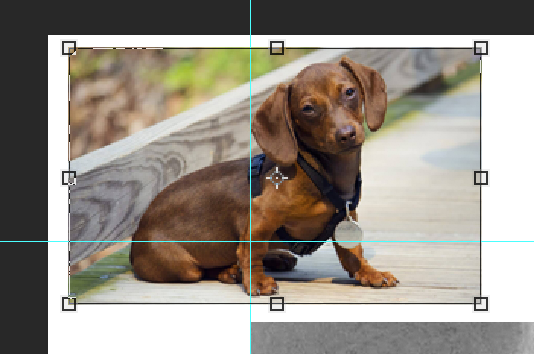
- Copy and paste, or drag and drop your landscape photograph into the new workspace. Resize as necessary by using Free transform (Command-T)
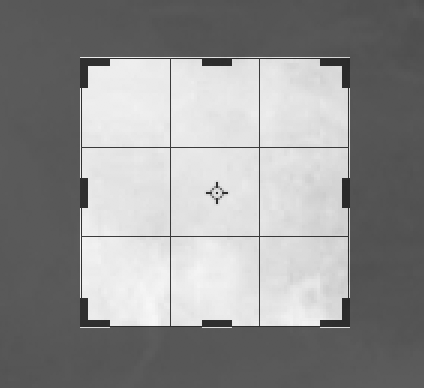
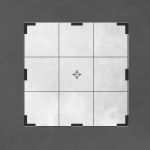
- Be sure to leave a margin of at least 1 inch around the top and sides. Use Rulers (command-R) and guides pulled from the rulers to set up a grid that will help you keep things aligned.
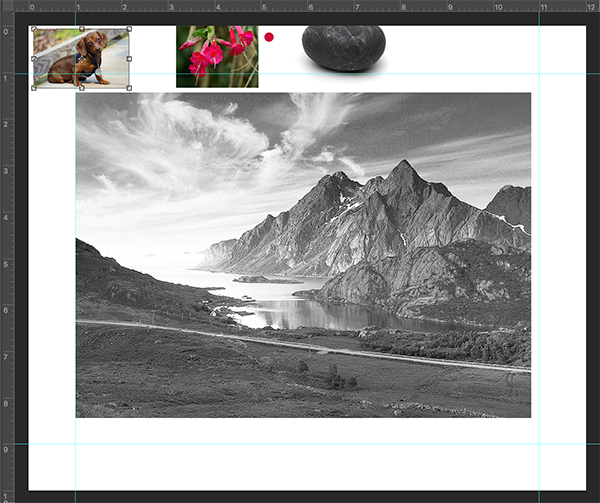
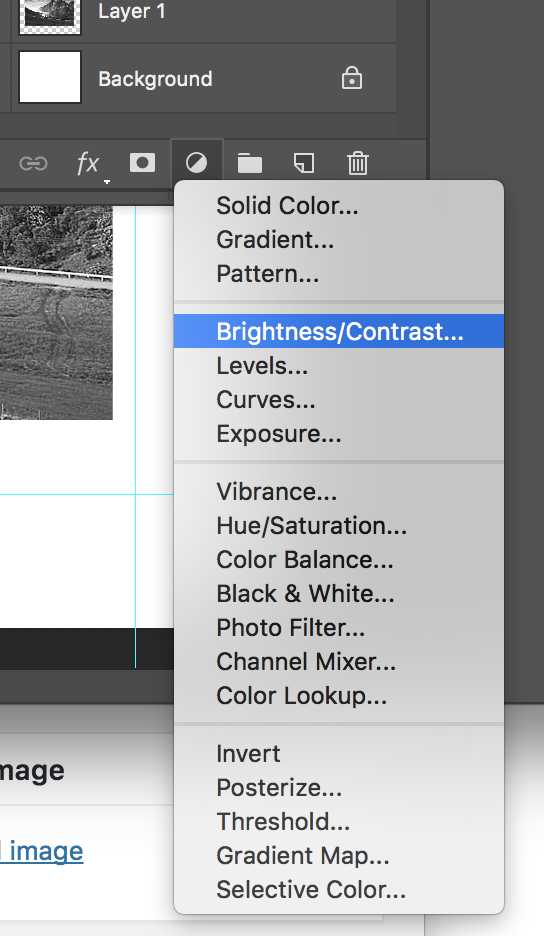
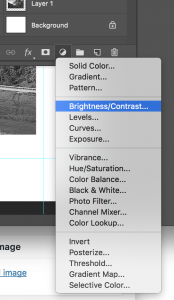
- Add an adjustment layer to fix brightness/contrast
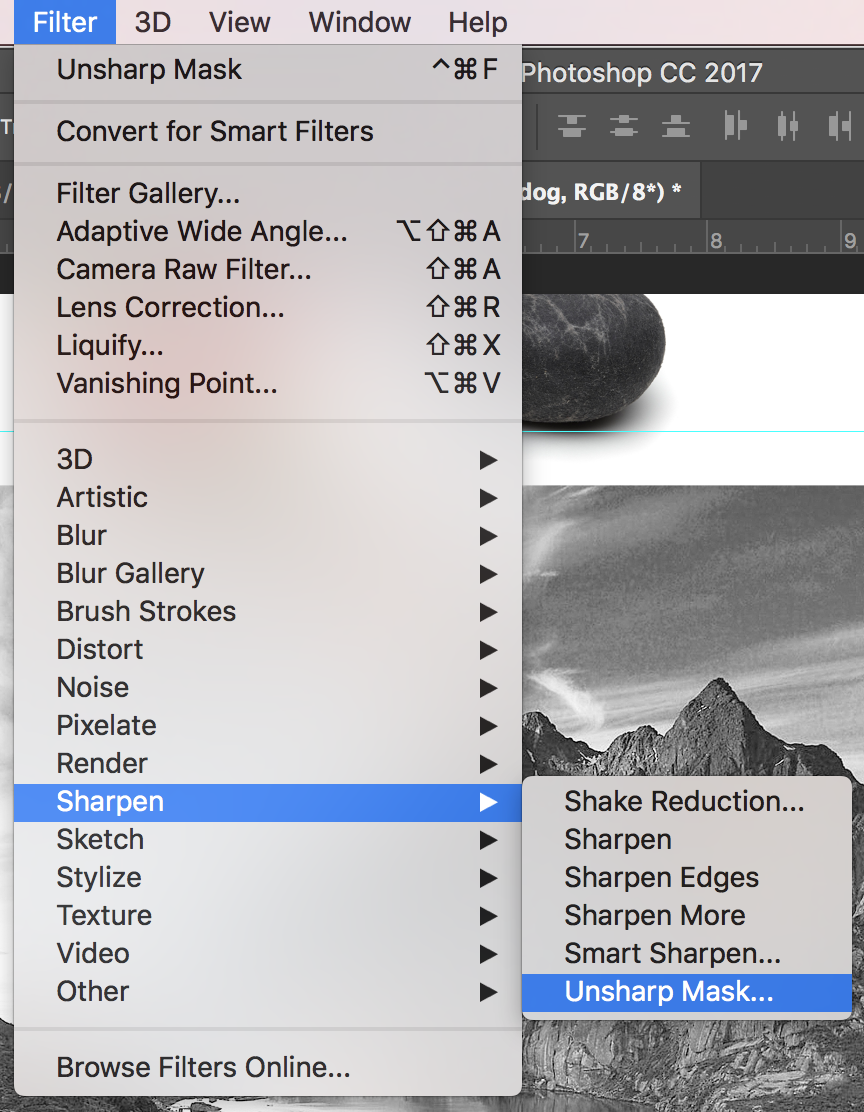
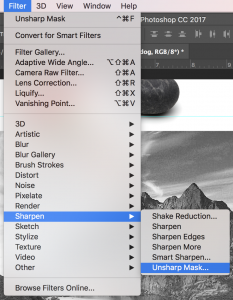
- Use Unsharp Mask… to sharpen
- Drag and drop, or copy and paste one collected sample image into your photo workspace. Scale the image down so that it fits into the margin. Continue until all the object scans/photos are in the margins of your workspace. You may arrange the objects below or above the photograph in any way that seems to work. After you drop your photo contents into the new workspace, you may close all of your saved images.

- Next, create palettes of colors for each object image by following these steps: First, set your paintbrush tool to a solid round dot of about 40 pixels in size, with hardness set to 100% and opacity and flow also set to 100%.
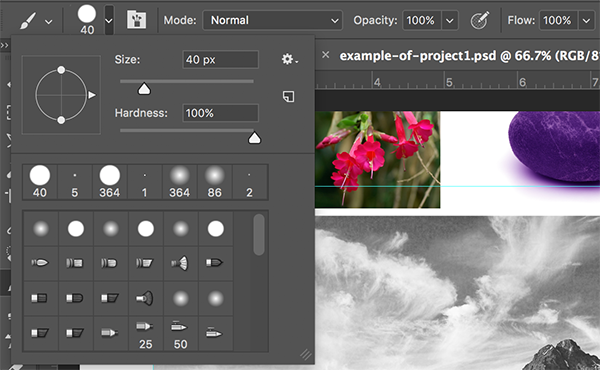
- Select the layer for one of the object images you’d like to extract a color from. Then, zoom in close and press the Option key to temporarily get the eyedropper tool. Pick a color. Let go of the Option key and paint one dot to begin the palette, next to each object.

- NOTE: you may need to adjust the size of your object images so you have room for your color palettes. (Command-T)
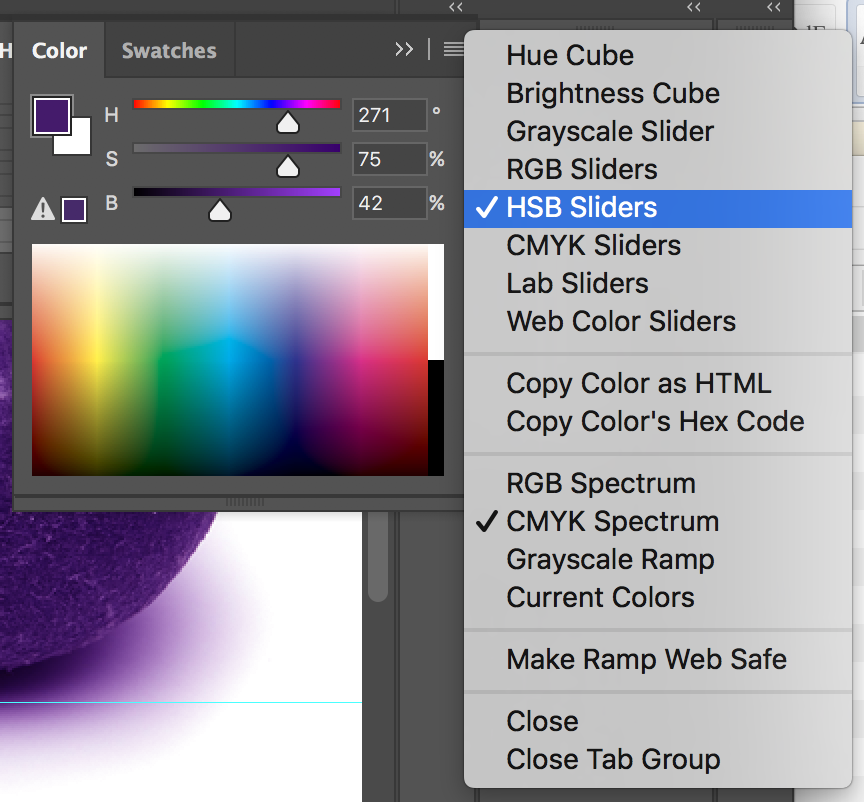
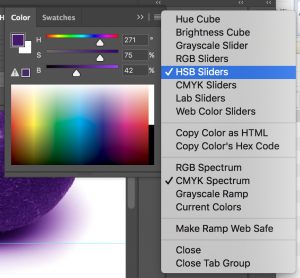
- For different saturations and values, open the Color Panel, and use the pull down menu to change the sliders to HSB. Slide saturation to the right or left by 10 or 20 units to get the next color, add it to the palette and repeat. Try the same with Brightness. Create six to eight colors for each palette.

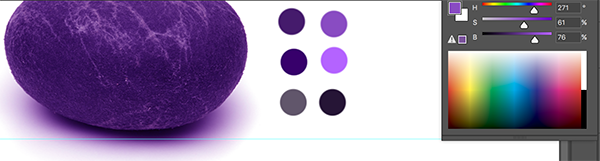
- Make palettes of colors for each object (remember to select the correct layer as you are sampling).
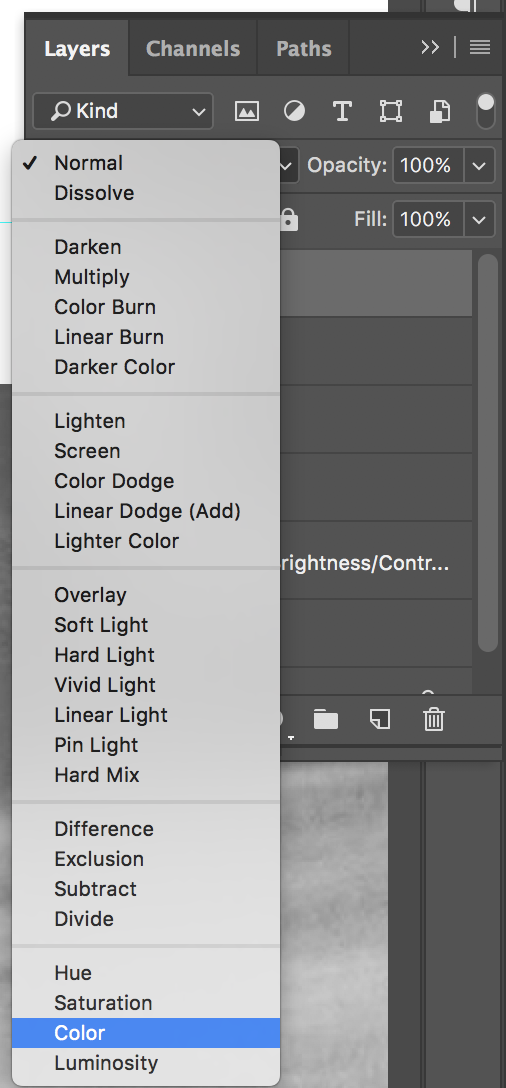
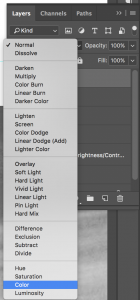
- Finally, create a new, blank layer at the top of the Layer stack. Set the layer Blending Mode to Color. This blend mode allows you to add color to the image without affecting the lightness values.
- Select the Paintbrush tool (B). You can continue with your size 40 brush, or you can change size, brush softness, etc.
- Press option and sample a color from one of your new palettes. Begin painting over the image on the new Color layer. Adjust the layer opacity, or brush flow to control translucency.

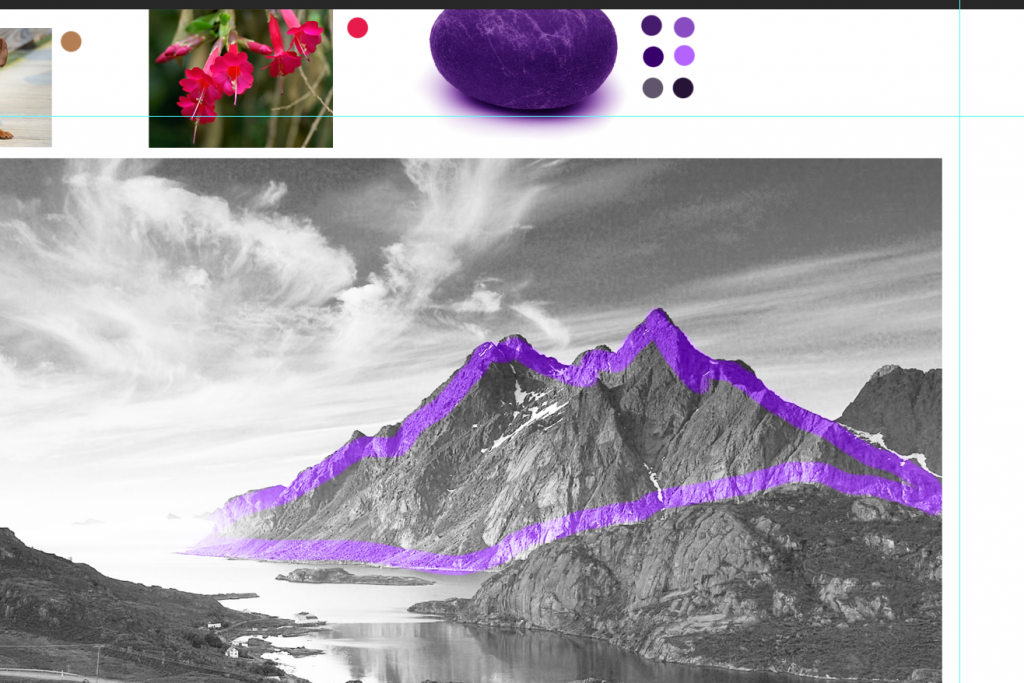
- Continue to re-color the entire photo. Use as many new layers as necessary set to Color mode. New colors may change underlying ones, so try adjusting the brush opacity and flow.
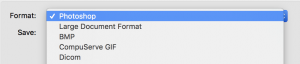
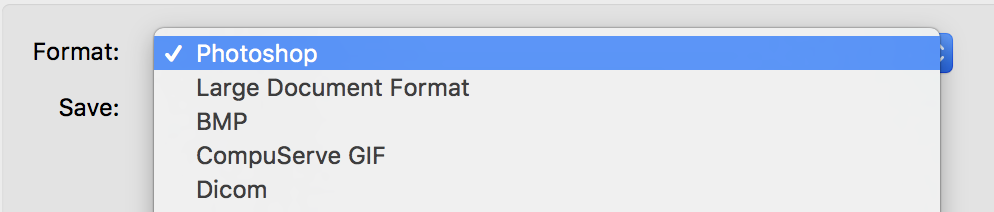
- Save your work in .psd format and submit both re-colored landscape files on Canvas. Do not delete your working layers – leave everything there so I can check you followed the directions.