Reading/Viewing

Goals/Objectives:
- Creating and using vectors, including curves, shapes and type to successfully build an image, and understanding the relationship, difference and integration with 2D raster images.
- How the pen tool, vectors, Bezier curves, and vector shape drawing tools differ
- Understanding the editing process for identifying and altering vector shapes
- Who uses vector graphics, the benefit and challenges
- Practice recognizing and experimenting with elements/principles of 2D design; special attention to effective use of negative space, line, edge, and shape, which are all very apparent when you are working with vinyl/cut paper
- Build vocabulary through critiques
- Practice working with limitations to encourage creative thinking/brainstorming
- Talking about Goal-setting for our careers


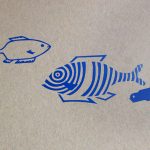


PART 1: Vinyl Sticker
Vinyl can be a great alternative drawing media for large walls, elaborate detail, or a project that necessitates strong contrast between the subject and ground. Vinyl is also an excellent medium for letters, numbers, and symbols.
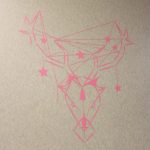
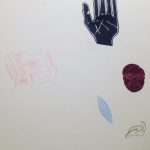
We’re going to start small: everyone creates a sticker from a drawing in their sketchbook (to understand how the pen tool and the vinyl cutter works). We will use our personal goals as inspiration. We will write short-term (within the next month), medium-term (within the next year), and long-term goals (within the next 5 years) as inspiration for our stickers. Students can also cut out additional stickers on other subjects if they like.
Important Note: You can buy your own vinyl and/or transfer paper online, or we also have it for sale for $1/foot at the Star Store computer lab. You purchase it with your UMD dollars (not your $40 of free prints). UMD dollars are put on your card via credit card using the online system ($25 minimum) or at the UMass Pass office (no minimum – can use cash/check). The UMass Pass office is near where you get on the bus on the Main Campus – it’s where you picked up your ID card.
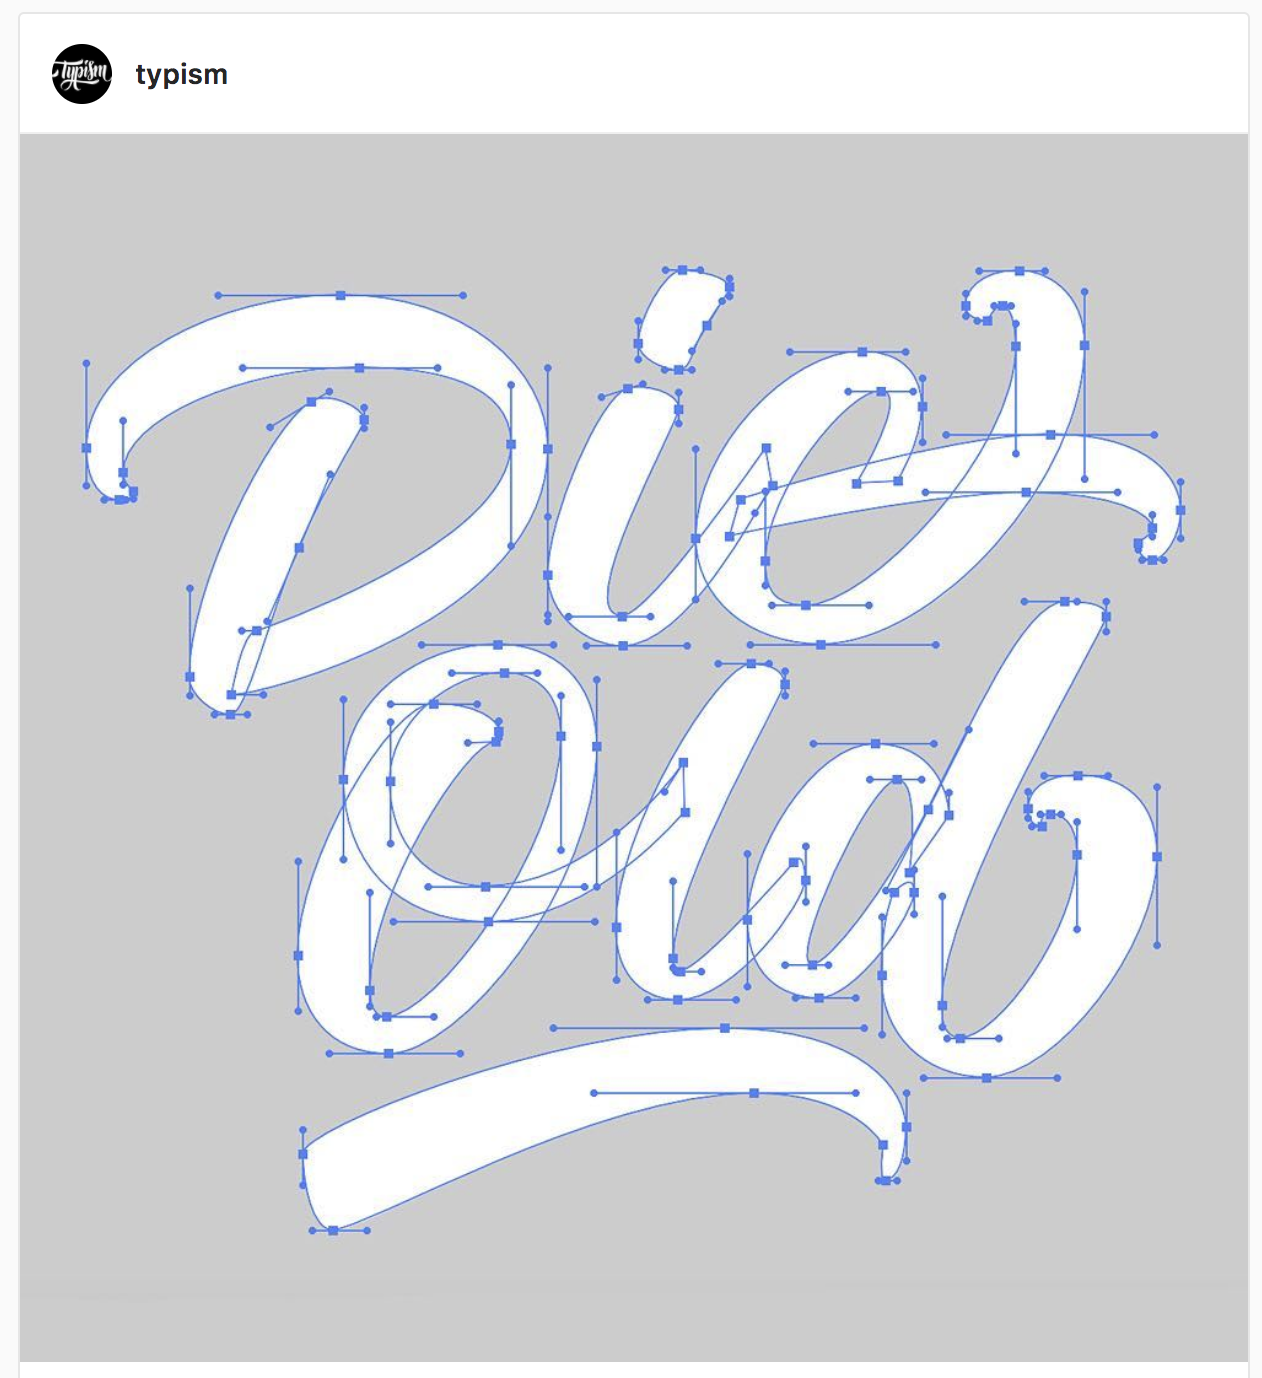
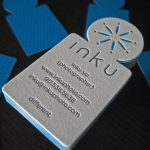
Examples of Anchors and Handles (handles are the two dots that extend from a central anchor point – handle adjust the curvature of the lines/vectors)
STEPS:
-
- We will do some short/medium/long-term goal setting. We will use that imagery to inspire 10 sticker design sketches.
- We will practice using the pen tool using this website and tutorial: http://bezier.method.ac/
- We will practice using the pathfinder tools:
- We’ll use the pen tool to trace a sticker design sketch in order to make a small sticker.
- You’ll export as a .DXF file
- Submit your .DXF file for review/error checking via Canvas, and sign up for a time to cut out your vinyl.
- We will visit the Star Store to calculate how much vinyl you need for your sticker, and then purchase the vinyl from Paula at the 2nd floor computer lab at the Star Store, where we will cut out the stickers.
- Sign up for a time to cut out your files with Paula and submit your approved file to the Computer Lab’s Dropbox. (click that link, and use the button to submit your file) You will cut out your mural using the Cameo Cutter.
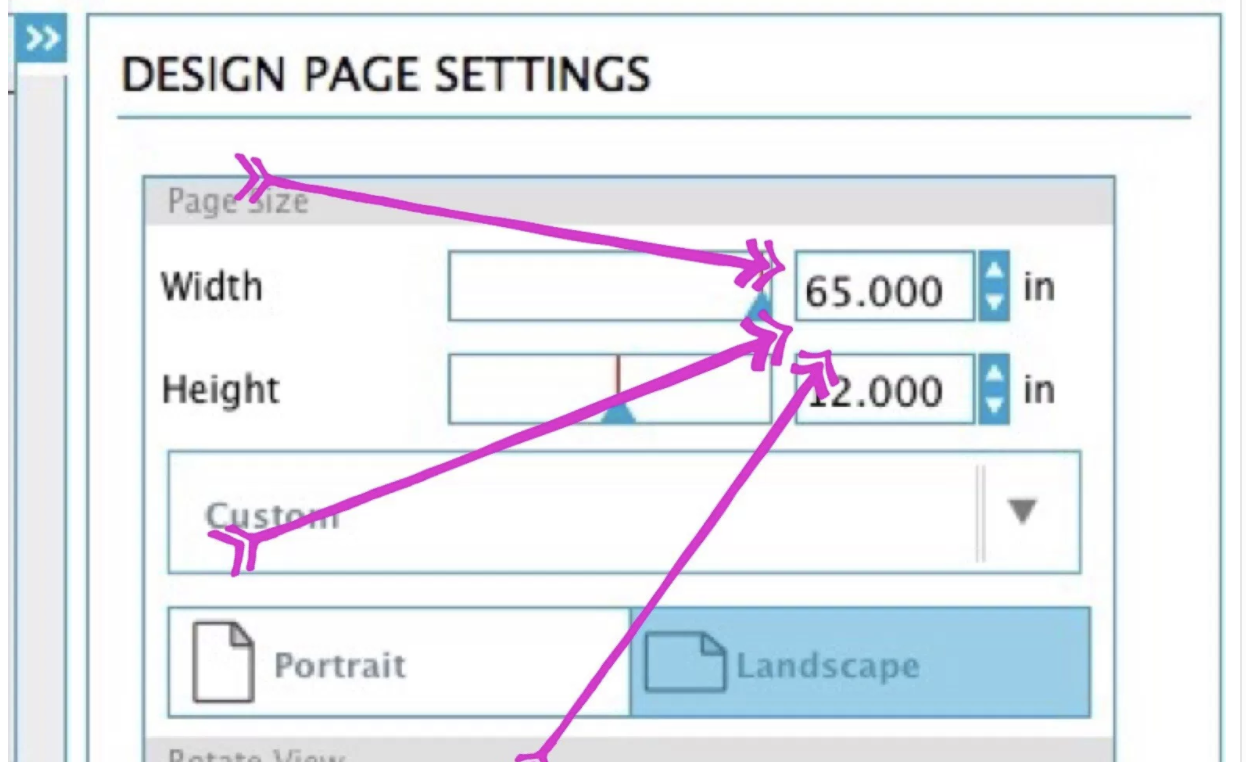
When cutting from a roll of vinyl, open your “Design Page Settings” toolbox and set it to landscape with the correct dimensions for your long piece of cut vinyl. Make sure to also change the “Cutting Mat” to “None”. Also check that the feed wheel on the Silhouette is in the right location to grip your vinyl (sometimes it’s set wider for the cutting mat – both feed wheels must touch your roll of vinyl to feed it straight).

- After cutting out your design, you will weed the vinyl and apply transfer tape.
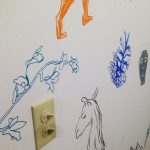
- We’ll put all our class stickers together to create an installation somewhere.
- Critique in class
- Reflection (online)
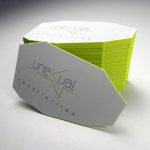
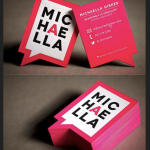
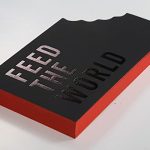
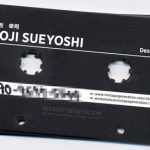
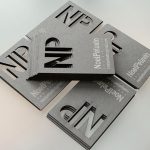
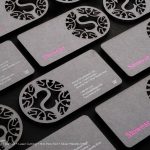
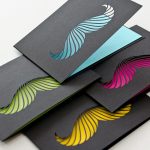
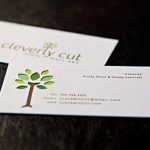
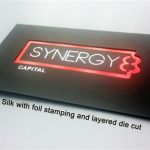
PART 2: Card-stock/Paper Business Card
STEPS:
-
- We will return to our short/medium/long-term goal setting. We will use those ideas to inspire 10 possible business card design sketches. (Think of wacky dream jobs that don’t even exist, but satisfy your goals)
- We will continue to practice using the pen tool and pathfinder tools as we select 1 design to execute. (collect whatever special papers/cardstocks you’d like to use)
- Execute your design using the pen tool, and export as a .DXF file.
- Submit your .DXF file for review/error checking via Canvas
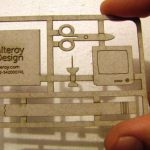
- We’ll cut out our business cards using the cutter at the VML (2nd floor of CVPA building)
- We’ll put all our class business cards together to create an installation somewhere.
- Critique in class
- Reflection (online)
Grading
SMALL STICKER: 1 point (DXF file), 4 points for following remaining directions
BUSINESS CARD: 1 point (DXF file), 4 points for following remaining directions
8 points reflection
 Tips & Tricks for Illustrator
One of the most difficult, yet most important skills to master is the use of the Pen tool in Adobe Illustrator. You can practice this skill at http://bezier.method.ac/
You can use the Add Anchor Point tool to create bezier curves out of straight lines and the Delete Anchor Point tool to eliminate unwanted/unneeded points or curves.
The scissors too can also be used to divide a path into two separate segments.
There are commonly used shortcuts such as select pen tool (P), Select Add anchor point tool (+), Select Delete anchor point tool (-) Select Convert anchor point tool (Shift + C), or Select Scissors tool (C).
There are some secondary mouse controls which are useful as well when the path is selected, such as: when you hover the Pen tool over an anchor point, the pen tool changes to the Delete anchor point tool; when the Pen hovers over a path segment, it changes to the Add anchor point tool; or when the Pen tool hovers over an ending anchor point, it can be used as the Convert anchor point tool to change the curve of the path.
A handy trick is when trying to create a rounded rectangle, change the corner radius on the fly by using the up and down arrows.
Also, if you want to create several objects as you draw, hold the tilde key while you draw.
VINYL CUTTING/DRAWING TIPS
– None of your shapes/lines can be thinner than ⅛” wide. One way to check to see if your lines are too thin, is to go to “View” and then “Rulers,” which makes rulers appear at the top and left of your screen. You can zoom in to compare your drawing to the rulers. Generally, if you think it might be too thin, it probably is. Another way is to click the “Rectangle” tool and hold down the mouse; it will give you the option to select the “Ellipse” tool. You can click on your artboard and a window will pop up asking you how tall/wide you want the ellipse to be. Enter “.125 in” in both fields. It will draw a tiny circle that you can drag around on your screen comparing to all the skinny lines. If the lines are narrower than this little circle, then they are too thin.

– All of your shapes must be closed (no drawing a pair of pants with 3 separate paths/lines – you must OUTLINE the pants creating a single closed shape).
– ONLY USE ONE COLOR (this truly means only one color – not different shades of black, but only ONE black – or whatever your chosen color is). This means both the stroke and the fill (if you are using them) need to be the same color.
– Simplify anything if necessary. For example, if you’ve used a complicated brush, you may want to simplify the outlines to make weeding the vinyl easier. To simplify, select the object, then go to the “Object” menu, click “Path”, and then select “Simplify”. A menu will appear where you can adjust how simplified you want the object to become.
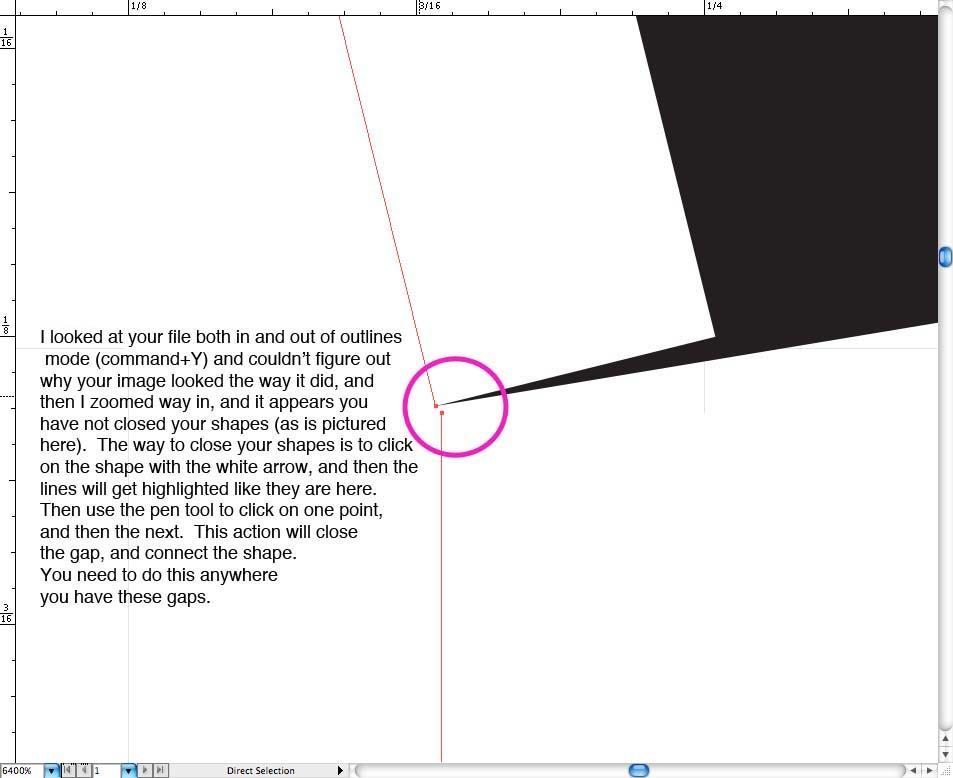
– Make outlines. If you have any lines that utilize a stroke or a brush, this is an especially important step. If you are making text into outlines, select the text, then click the “Type” menu and choose “Create Outlines” to edit the text as an object. If you are making vector-based lines/objects into outlines, select the object, then click the “Object” menu. Click “Path” and “Outline Stroke” to create an outline of the vector object. A good way to CHECK your outlines is to simply do command+Y, which shows you your outlines. Anywhere you see the outlines, that’s where the vinyl cutter is going to cut. To turn off outlines view, simply do command+Y again. (click image below to view larger and read text)
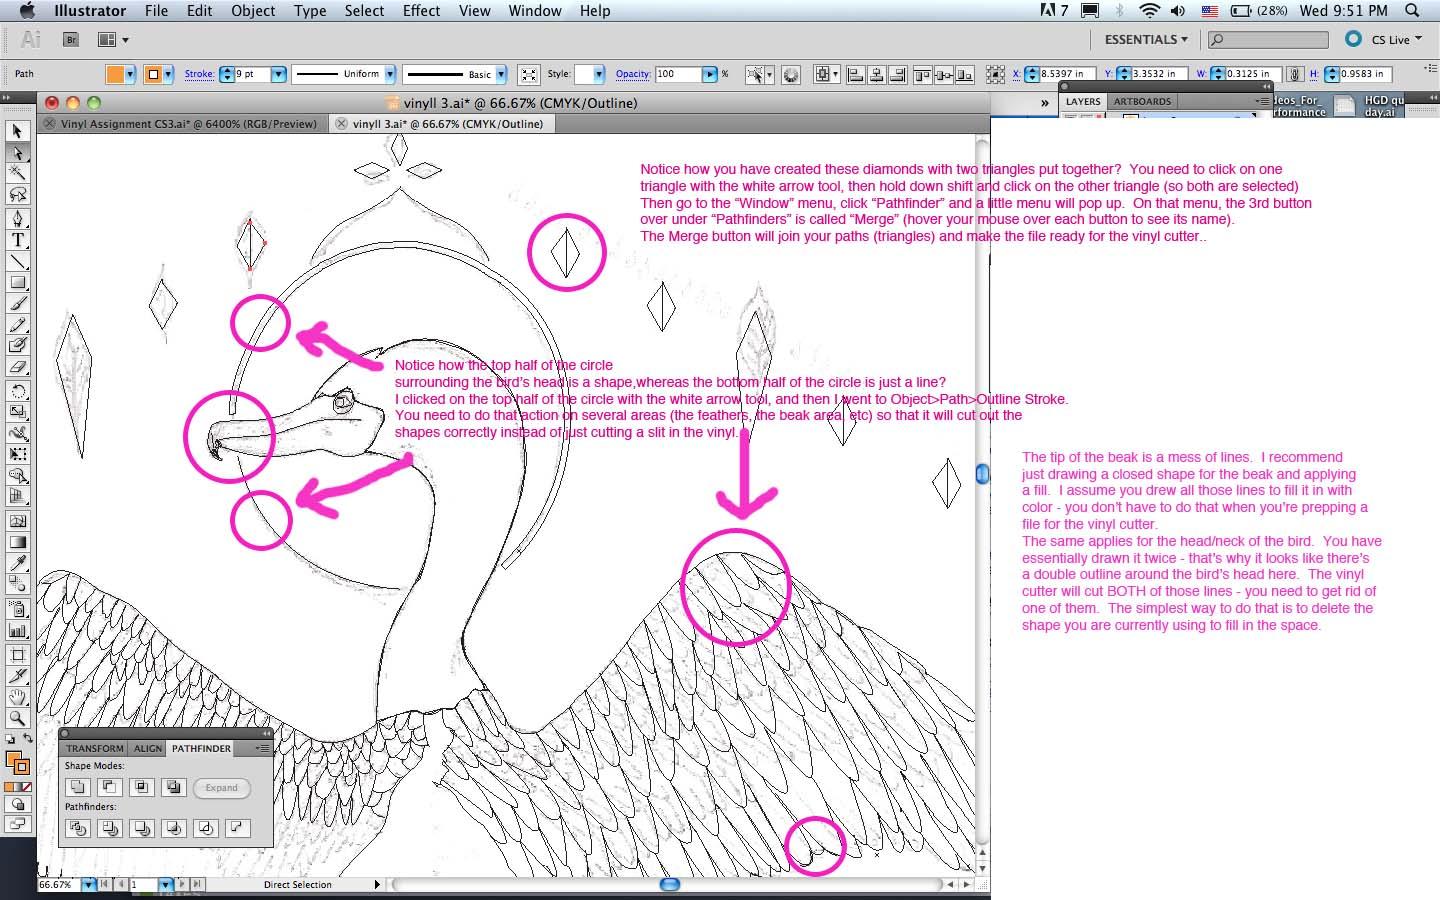
– Merge. Select everything on your artboard. Go to the “Window” menu, click “Pathfinder” and a little menu will pop up. On that menu, the 3rd button over under “Pathfinders” is called “Merge” (hover your mouse over each button to see its name). The Merge button will join all your paths and make the file ready for the vinyl cutter. (click image below to view larger and read text)

– Remember that you can cluster your drawing elements for the purpose of saving money/vinyl.
Tips & Tricks written in part by Sarah Kett and Phil McCollam, citing these sources:
 http://www.trainstation.cc/Tutorials/Illustrator/illustratortutorials.html
 http://www.illustratortips.com/index.php/Instruction/Beginner-Tips/5-essential-illustrator-pen-tool-tutorials.html