FIRST, we’ll watch these videos introducing Glitch art:
Video 1, Video 2, Video 3, Video 4, Video 5
OBJECTIVE
Make a glitched image using TextEdit(Mac) or WordPad (PC). You must submit your image and on Canvas 1 hour before the start of class.
GRADING
The image will be graded on:
- Can the student explain how they arrived at this work (the manipulations made)
- Effort (is it clear that this work clearly took time and effort to create)
- How interesting is the image to look at? (does it have interesting use of color, etc?)

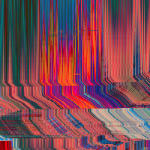
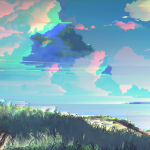
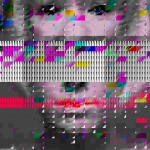
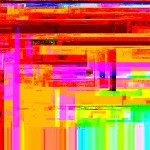
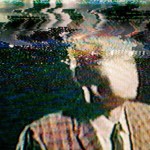
Image Glitching
Save an image as an uncompressed file such as .bmp, .raw, or .tiff.
Uncompressed image files contain more detailed data than compressed (lossy) files such as .jpg extensions. Thus, uncompressed files have more data available to edit than compressed files do, and your image is less likely to completely break when corrupted.
Converting a .jpg to a .bmp, .raw, or .tiff can be done in virtually any image editing software by clicking either “save as” or “export as” and changing the extension of the file.
Technique #1: Audacity
Audacity is a music editing program, but its effects can be exploited to corrupt and glitch your image files.
Download Audacity for free at http://audacity.sourceforge.net/download/.
Open Audacity and click “File” and “New.”
Click “Import” and “Raw Data…”
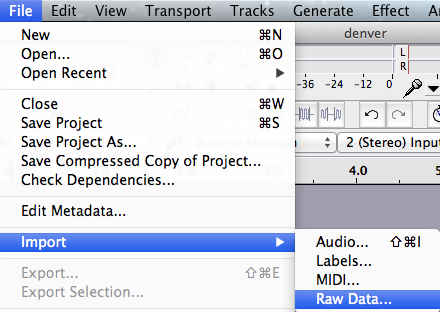
Select your .tiff file.
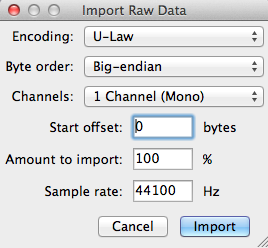
Set the Encoding to “U-Law” and Byte Order to “Big-endian.” (although I’ve also heard people recommend selecting “Low-ending – try both!)
Select part of your sound wave, but avoid the very beginning (about .25 seconds) because it contains the header. If you edit the header, your computer won’t be able to read the file anymore.
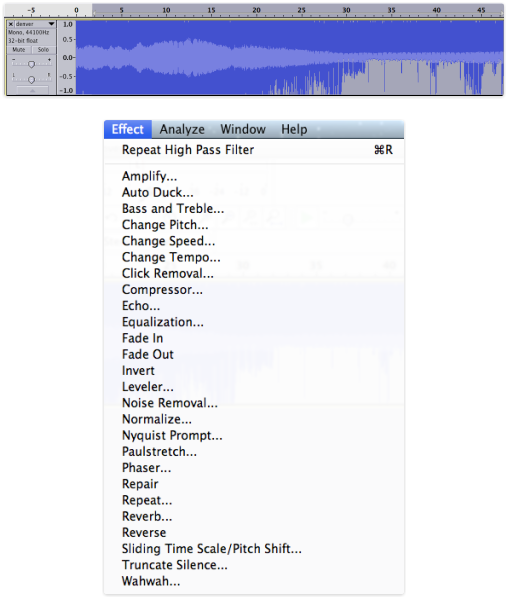
Click “Effect” and select any effect you want.
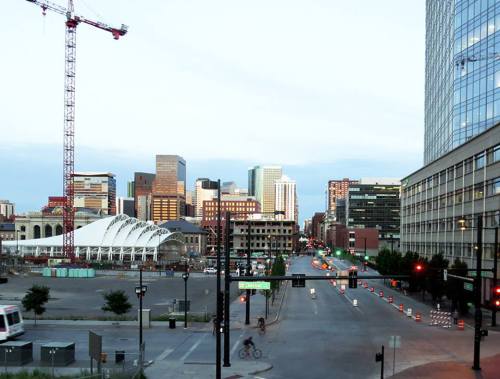
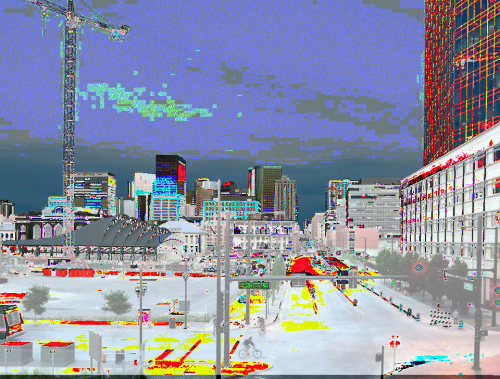
Here’s my original image:
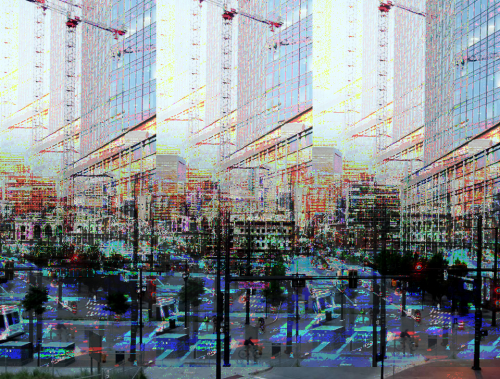
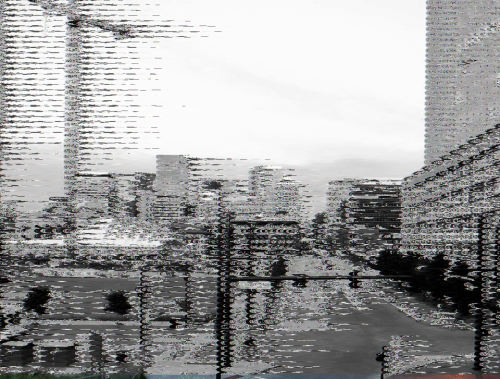
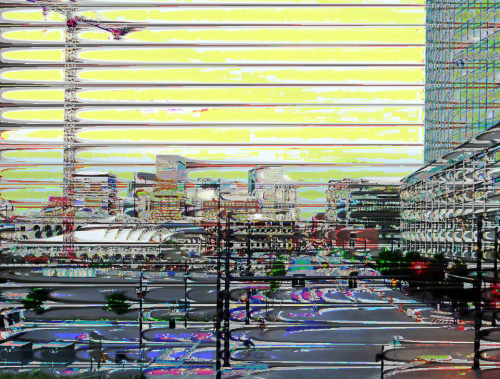
Here’s what some of the effects look like:
Echo:
Wah-wah:
Phaser:
Invert:
High Pass Filter:
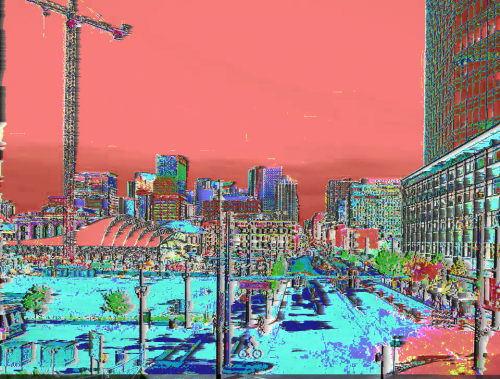
Distortion:
Click “File” and “Export…”
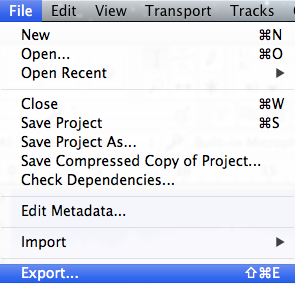
Set the format to “Other uncompressed files” and click “Options…”
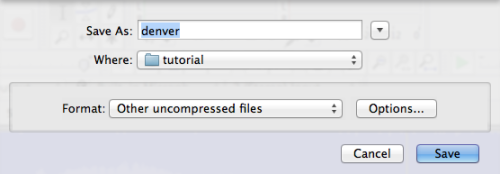
The header should be “RAW (header-less)” and encoding should be “U-Law.”

Save your file and open it up to see your new artwork! If you have any trouble opening the new file, try changing the extension from .raw to .jpg
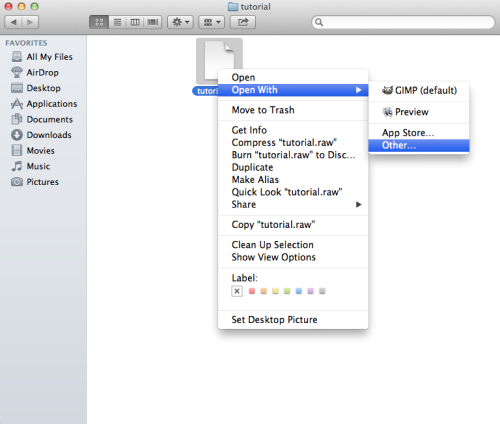
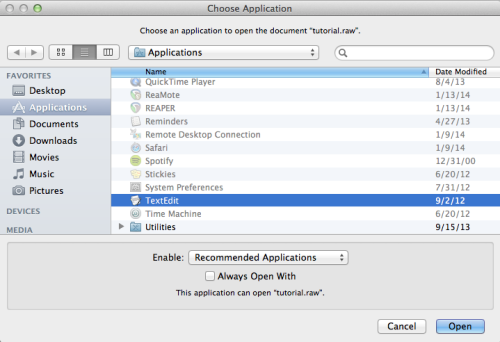
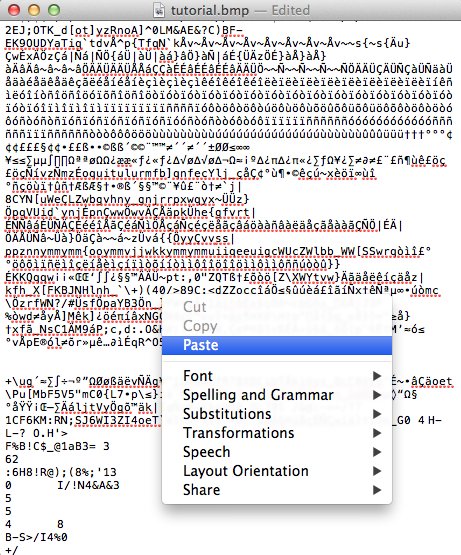
Technique #2: TextEdit (Mac) or Notepad (Windows).
Open the file.
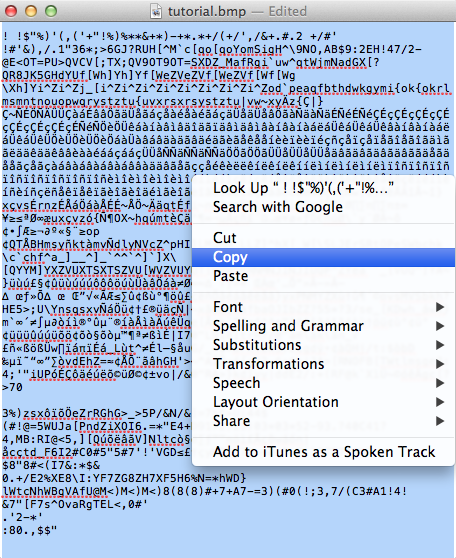
Scroll down at least 1/10 of the way into the file. You should see a bunch of data jargon. The first part of your file is the header. If you edit the header, it will break the entire image.

Now try adding symbols like %, $, {, }, etc. all over the file or copy/paste large parts of the data and move them to new places or delete information all over the file.
Save the file and open it to see what you’ve created!
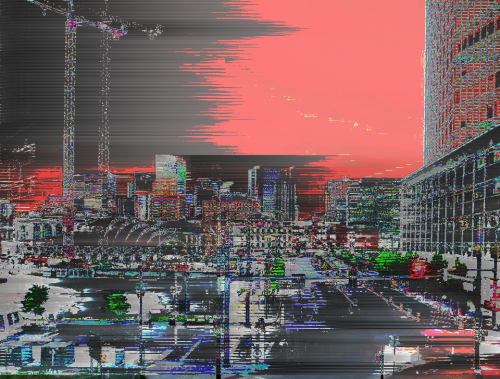
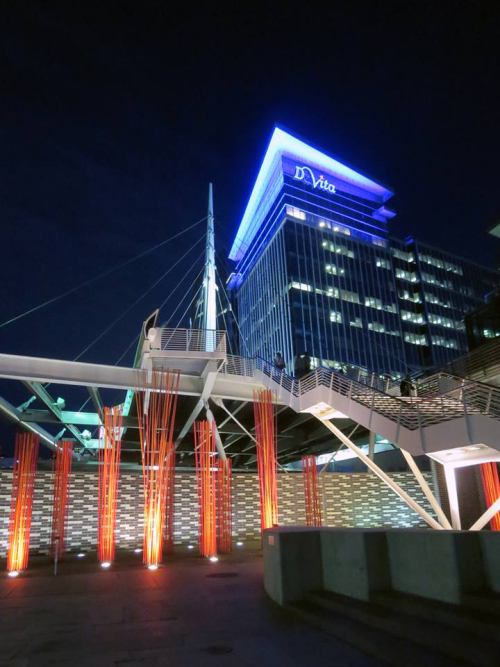
Here’s the original image:
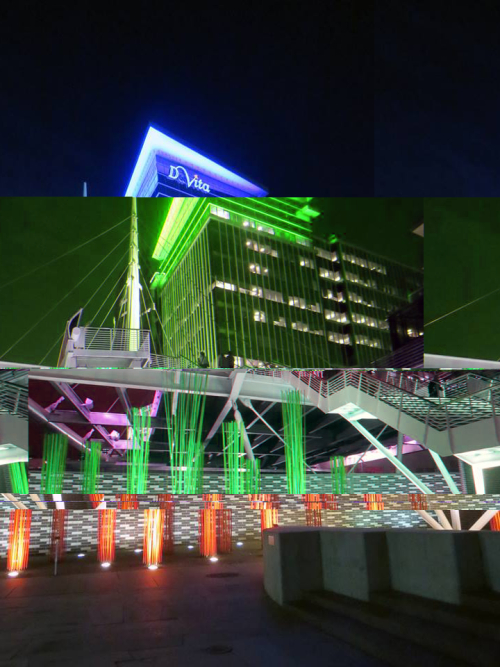
Here’s the glitched image:
credite: https://critiquecollective.com/2014/03/13/tutorial-on-databending-and-glitch-art/